I’m building my company Credo on WordPress these days. I recently overhauled my business model, moving from a commission-based model (which is a nightmare to track and a “business model” built on hope not business) to a subscription SaaS model.
Because I’ve been building on Credo on WordPress since the beginning, I have a decent bit of architecture in place already.
I’ve been using Gravity Forms as my lead capture solution, and as I was building out the new version of Credo I was able to implement (with the help of a fantastic developer I found) a lot of functionality that I’ve needed, such as one form across all of the profiles on the site.
The biggest need I had after this was the ability to display Gravity Forms leads in a way that is publicly viewable (with the right membership level) and looks good. I needed to show the important content and then allow users to contact the lead they received.
Enter GravityView.
Here is my review of GravityView.
Overview
GravityView is a paid plugin costing $59-$249 for a license (pricing page). For this, you can install GravityView on differing numbers of websites and have access to premium support, which generally gets back to you within 24 hours. It’s no WPengine, but in a bind it works pretty well.
GravityView (GV) is, quite simply, the easiest way I have found to display GravityForms submissions on the front end of your website.
Everything on GV revolves around this concept of “Views”, which are basically ways you can specify what shows up on different pages on your site. You can easily clone views so that your settings are not lost between different views, as creating these can be quite tedious at times.
There are two ways to display lists of GravityForms entries:
- Table View
- Listing View
This specifies the configuration of the index page for your view. Every view has two types of pages:
- View index page
- View individual entry page
Once you have your head wrapped around this, configuring your Views becomes fairly straight forward.
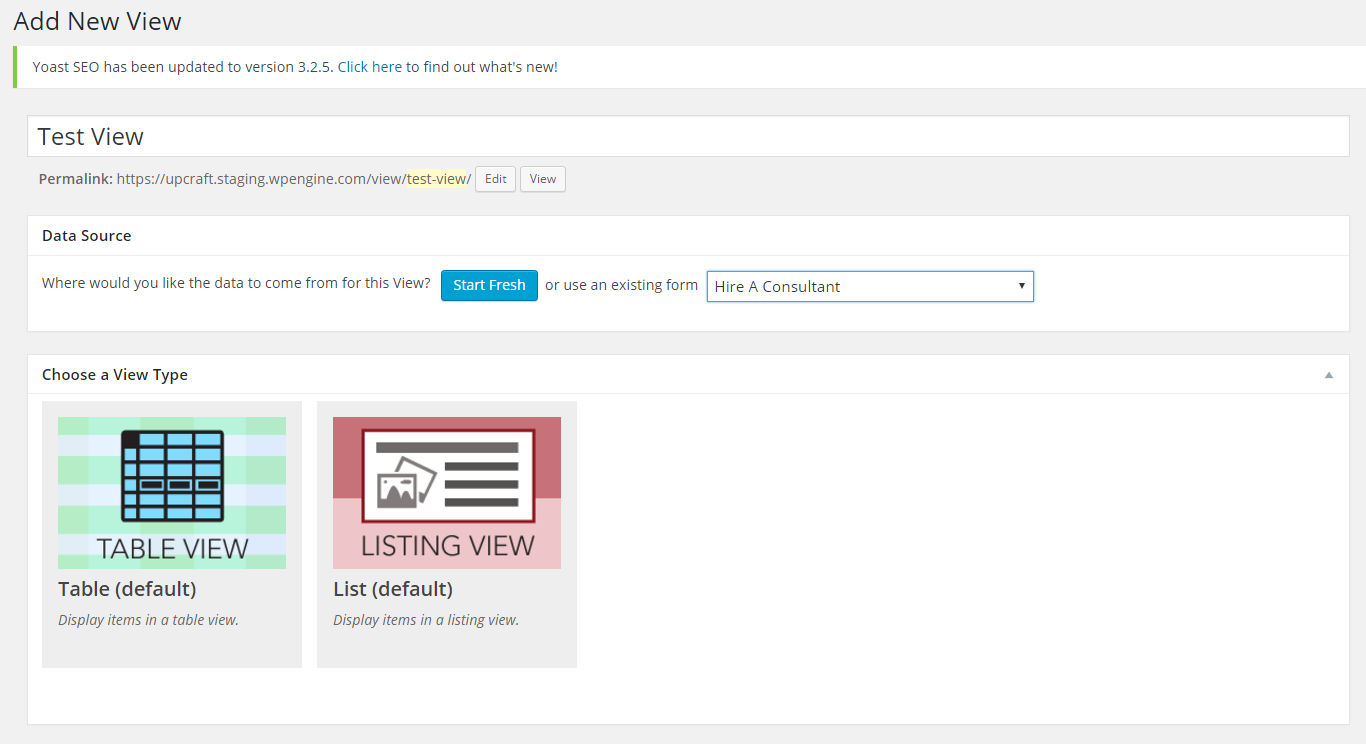
Creating New Views
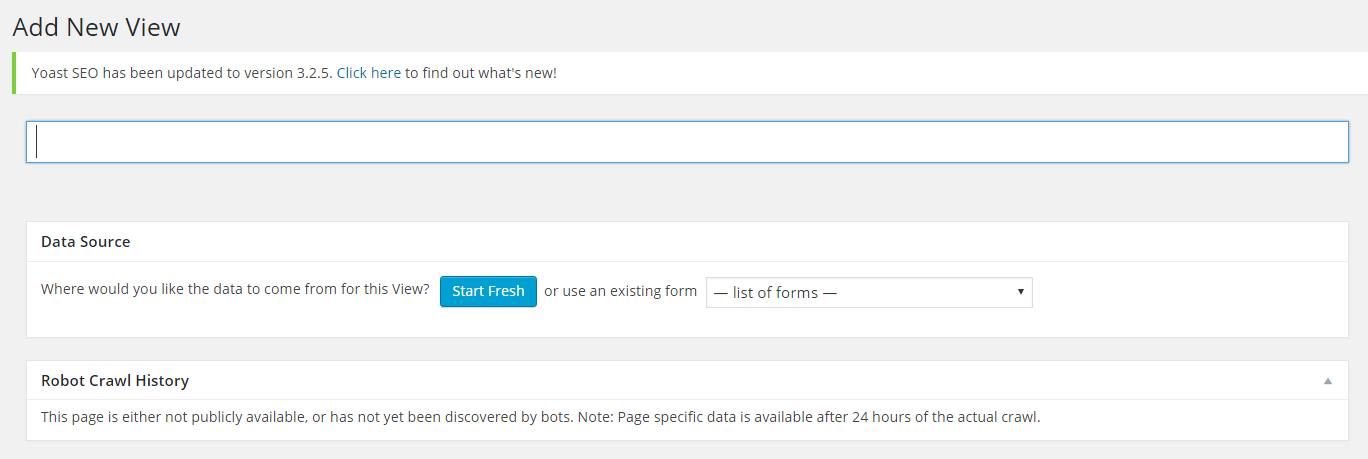
When creating a view, you create the name and select the form you would like to use.
After selecting the form, you then select Table or Listing (shown above). Let’s select Listing and you see this screen:

The key thing to know is that you add “Widgets” or “Fields” to each view to specify the content that you want to display on the front end of the view. As an example, if you want to add Text Content above the view, you will select Custom Content after clicking Add Widget:
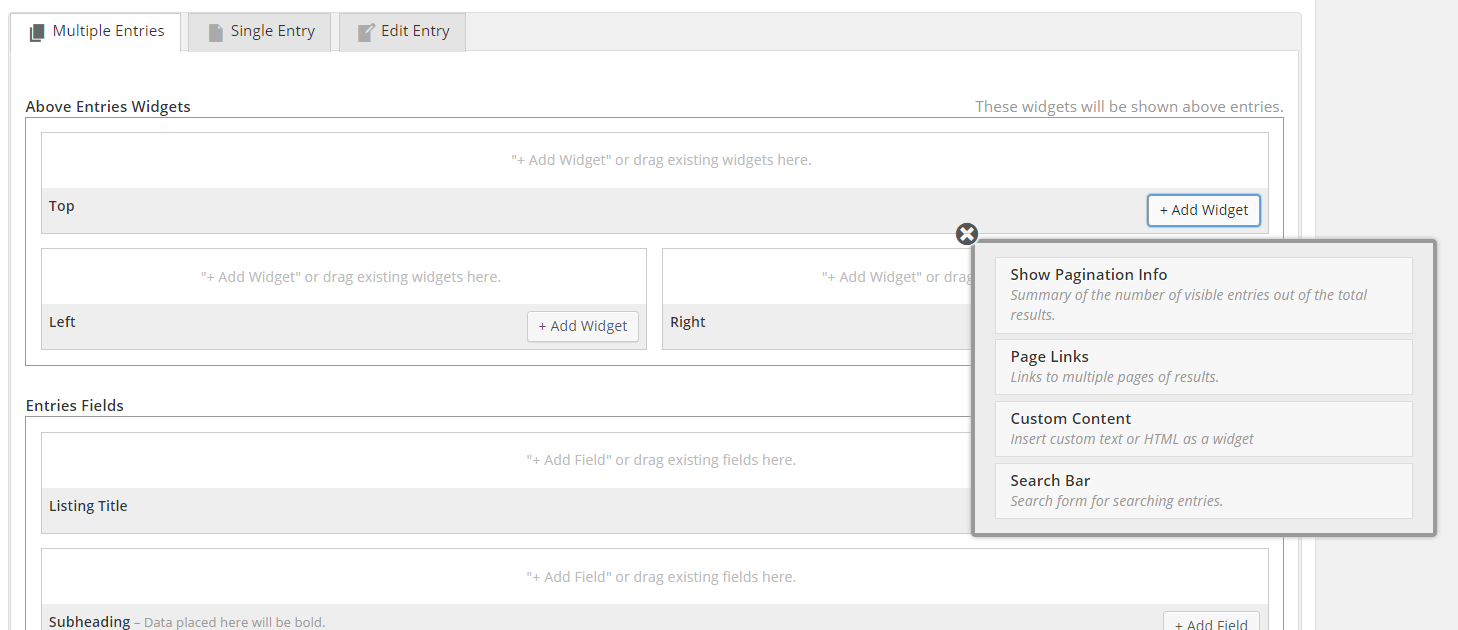
For each part of the view, whether the index or individual listing page, you add Fields to display the content from the form:
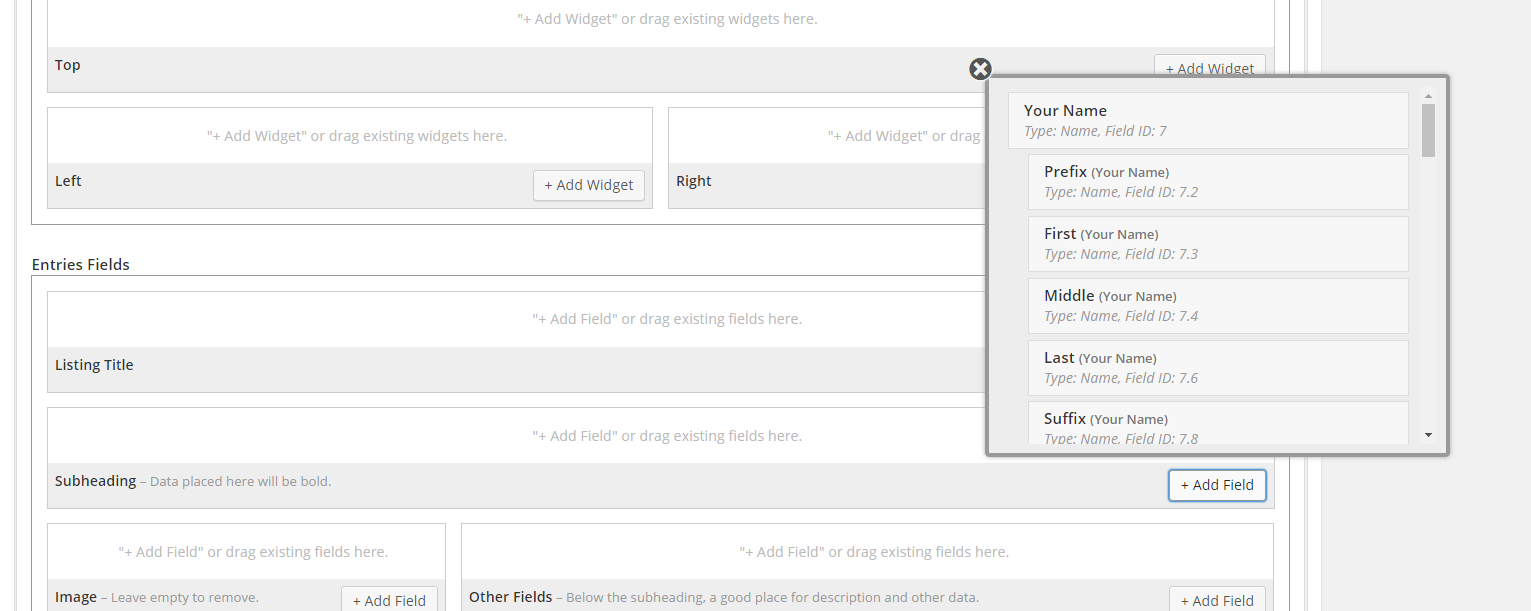
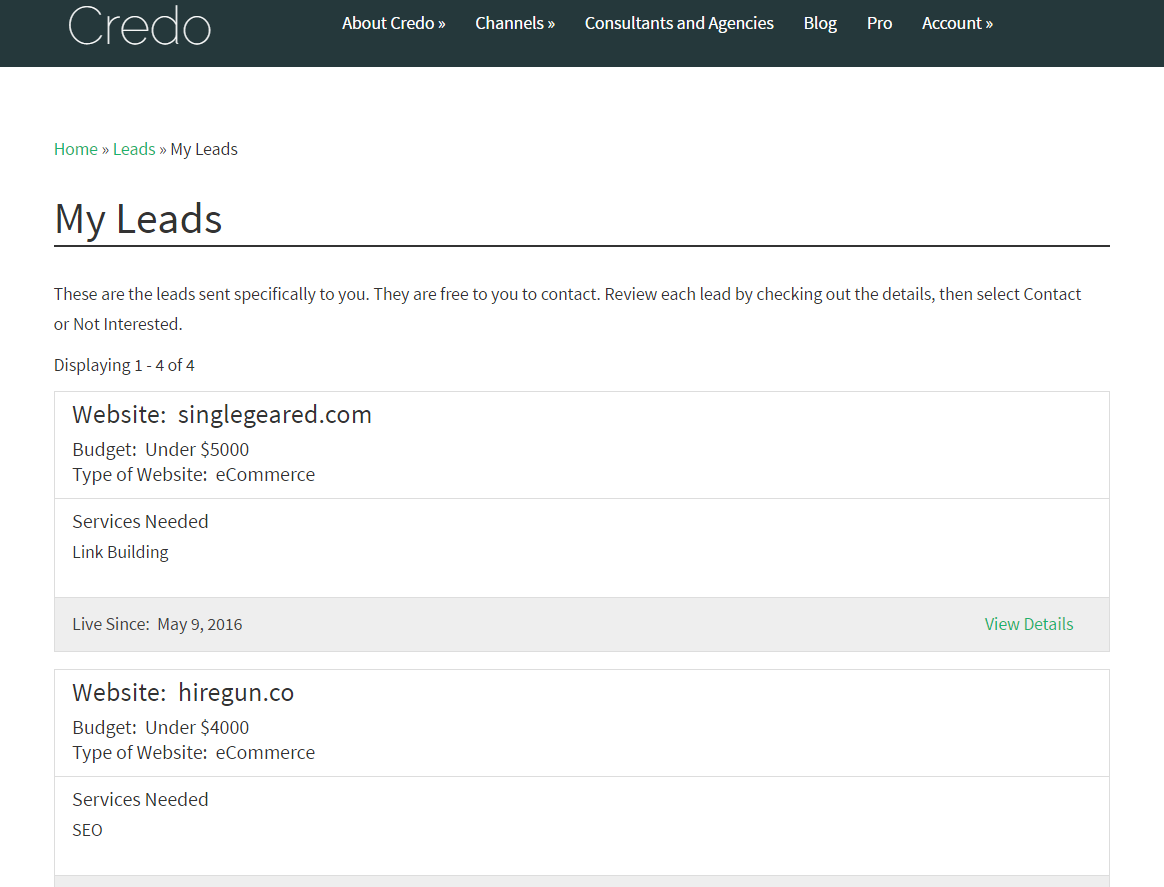
You grab the content you need and it ends up looking something like this (the green Contact button on the second image is custom HTML).

Embedding Views
GravityView enables you to then embed a view on a WordPress page that you create separately. This way, you can send your users to specific content based on their level on your website (I use PaidMembershipsPro to manage subscriptions, but there are many options).
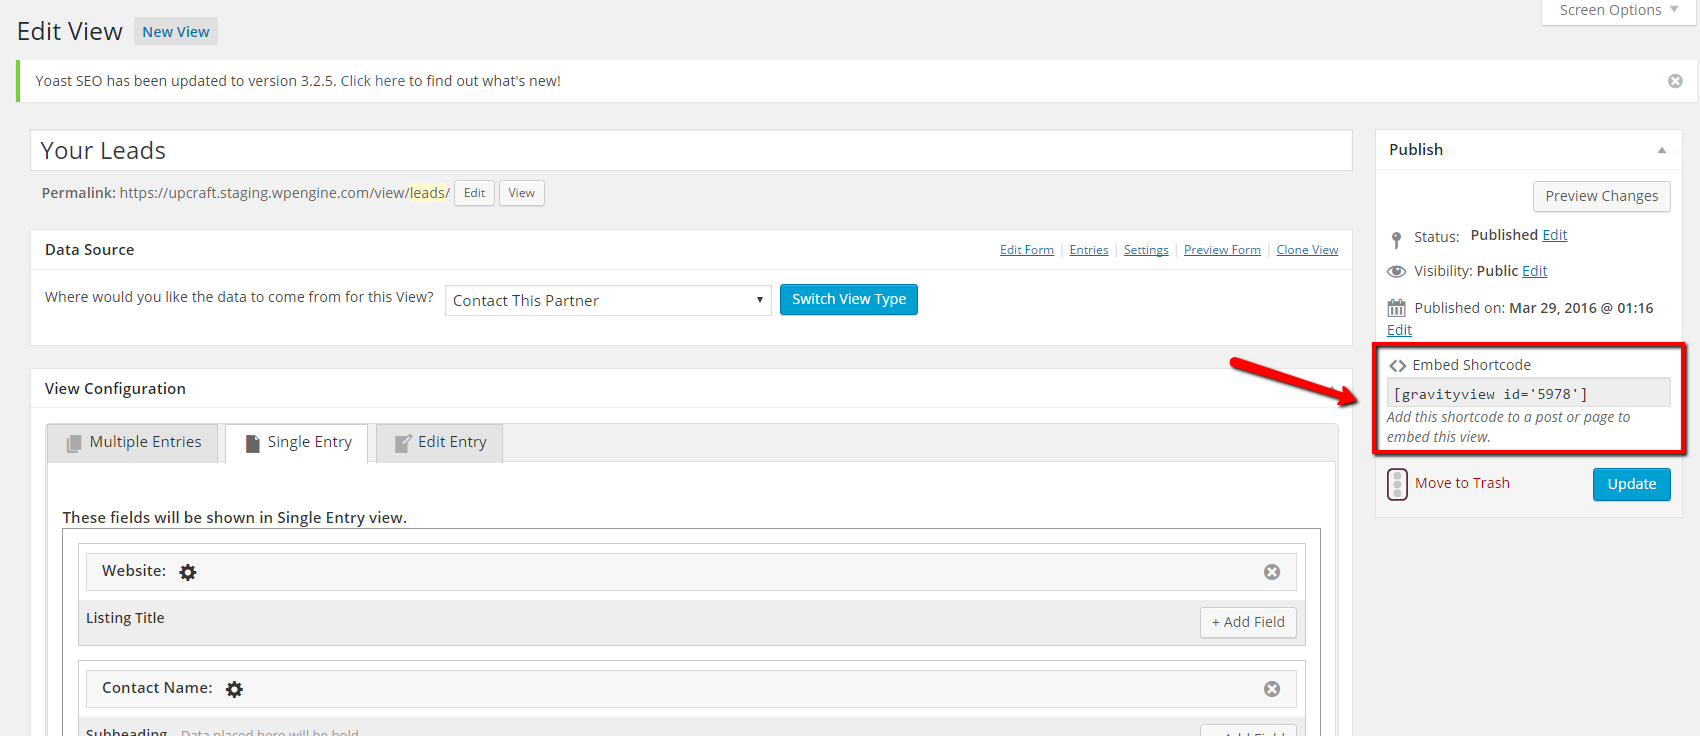
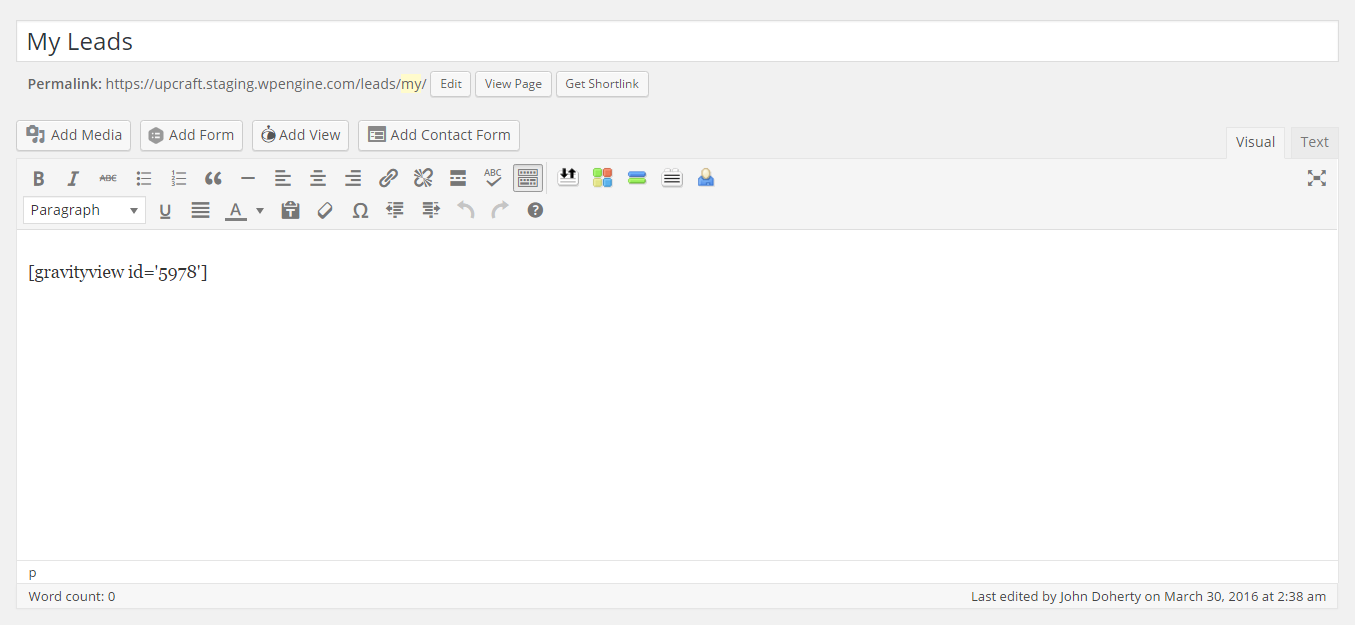
It’s as easy as this:
Challenges
While GravityView is a fantastic (and much needed!) plugin that deserves to be premium (and I gladly paid for it), there are also some very real challenges to using it.
First, the learning curve is quite steep to get the hang of the content you want to add and where. Quite a few times, I went to update the Index page view from Table to Listing and was forced to begin again entering the fields I wanted to display. I eventually learned to create two views – one listing and one table – and copy those when I started a new view.
Second, GravityView isn’t made to be a full lead manager. I couldn’t find anything else to use for WordPress, so with some custom development and help from GravityForms support, I was able to create a way for Credo’s pros to manage their leads and even Decline them. This did take some custom configuration of plugins and building those systems to make it work, however.
Third, GravityView notifications are not great. By using the Better Notifications plugin and GravityForms notifications together I am able to do all of the behind-the-scenes transactional emails I need to do. However, this took a lot of finagling and custom creation to make it work seamlessly.
Overall Verdict
Overall, GravityView is a lifesaver for many of us creating membership/subscription sites that run off GravityForms. GV enables you to not only get form submits, but also display them on the front end for your members to see. While GV has its challenges and learning curve (like any tool), it is the best I have found for displaying GravityForm form entries on the front end.
If you need it, use it. You won’t be sorry.